
Your Cart is Empty
In this unprecedented time we are all learning to adapt to the new normal. One thing in particular is distance learning and working from home. You probably found yourself needing more room to work after taking over the kitchen table, and constantly fighting your kids over table space. In this guide I will show you how to build a distance learning pipe desk for kids, and how to use the same techniques to build a larger desk for adults. You could also build multiple for a homeschooling classroom. This DIY pipe desk doesn't require power tools or any cutting with saws. See the step by step instructions below or check out the video we did on this build.

Planning out where the desk will be is a crucial first step because we need to figure out the measurements of the desk based on the available space.
After measuring our available space we decided a 3 foot wide desk would be our best solution.
Since our desk is made for a smaller child we tested various heights and found that roughly 23" from the floor to the top of the desk would be comfortable.
The other dimension we have to plan for is the depth. We needed to be able to hold a laptop, Ipad, and school supplies on the desk top all at once. After some testing and measuring on the kitchen table we decided on 24" deep.
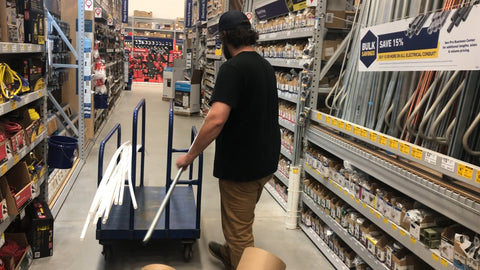
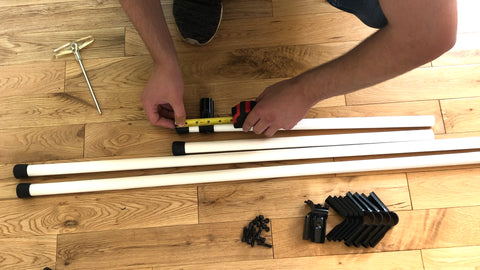
We picked up three 10-foot sticks of 3/4" EMT conduit which was plenty for this project, but you may need more depending on your desired desk size.
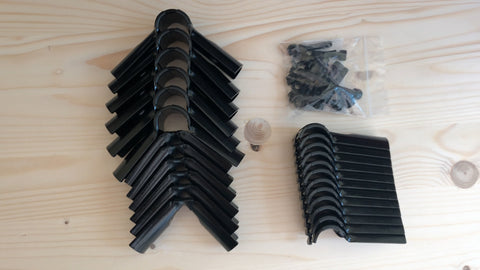
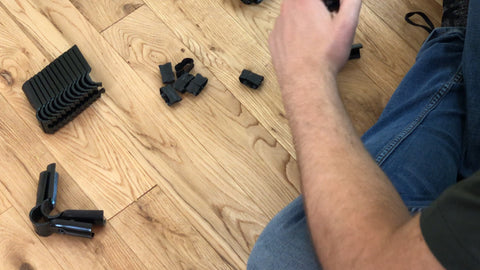
You need a total of 12 Maker Pipe connectors
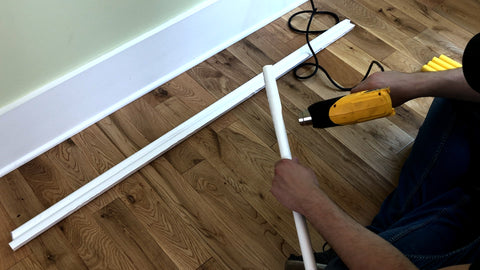
We bought this 36 by 24" spruce appearance board from Lowes. It came unfinished so we sanded it to smooth the edges and surface, but left it the natural color.

Although you don't have to have a shelf, we opted for this small 36" wide and 6" deep board to use as a shelf for added organization. We had help painting the shelf white.

For the hardware you need 5 one hole straps, and these #8 1/2" screws to secure the top and shelf to the pipe desk frame.
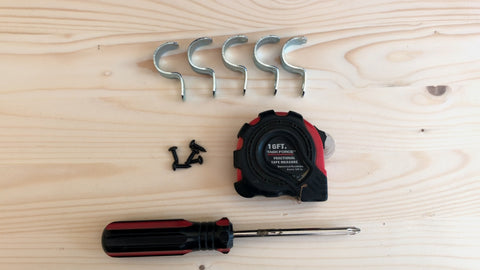
Other optional accessories we used in the build are conduit shrink wrap, rubber feet for the legs, and a reversible dry erase/chalkboard.
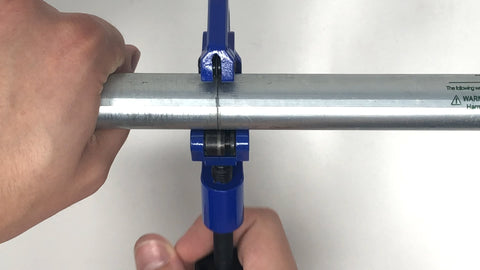
Start by cutting the pipes you need for your desk.
For the distance learning desk we need 12 total pipes
To cut them we are using this Maker Pipe conduit cutter because it is easy to use by anyone and doesn't require power.
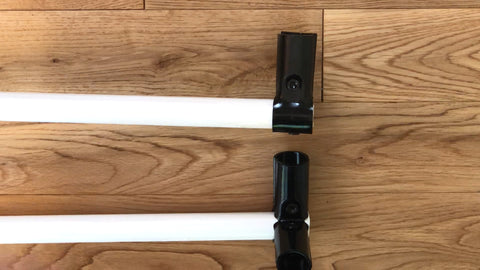
After cutting all the pipes we added the optional shrink wrap to give it a nice clean look in the custom color that the user picked out. We use this Wagner heat gun to install shrink wrap.
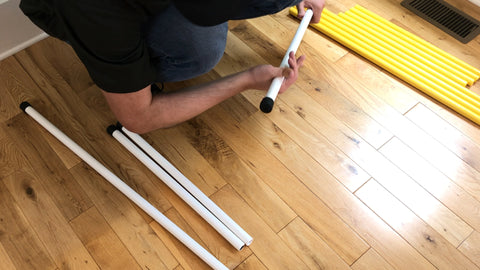
We wrapped the vertical pipes in white and the cross pipes in yellow.
Since we are using shrink wrap we can remove the pre-applied friction bands.
Next I added the rubber feet to protect the floor while building.
Now measure 2" above the rubber feet on the 22" pipes and add a t connector on each.
Follow the same procedure and add a 90 degree connector to each 47" pipe 2" above the rubber feet.

These 4 pipes will be used as the legs for the desk.
Add a 90 degree connector to the top of the 22" legs.
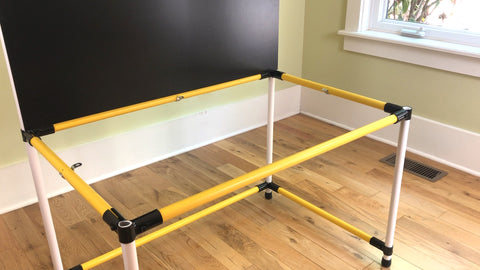
Now connect the two 22" legs together with a 32" cross pipe, and then add the 4 20" pipes sticking up like in the picture below.
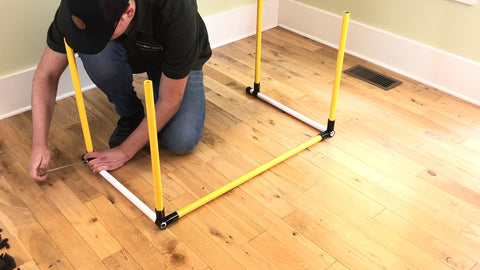
We can set this cube structure aside and grab the 2 47" legs for the next part. Connect the two legs with a 32" connecting pipe and then set the cube structure down into the 47" legs like in the picture below.
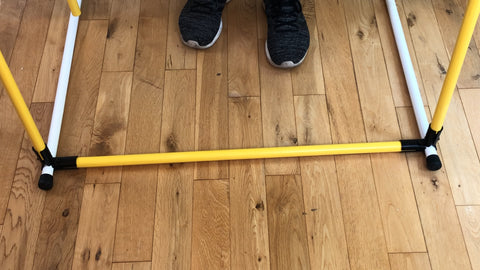
Once connected there will be two 20" pipes that need to be secured.
We will use a 90 degree connector on each and connect them with a 32" pipe.
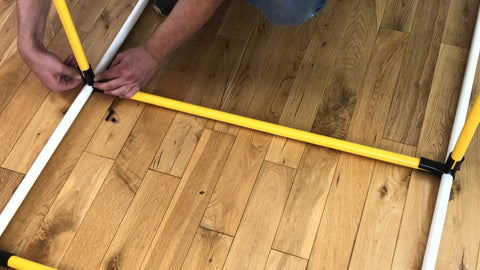
Now raise the desk and tighten all the connections from the last step.
To hold the hardware for the shelf we need to add a 32" connecting pipe to the top of the 47" legs.
Next to install the shelf we will use two one hole straps spaced apart and two t connectors to support it.

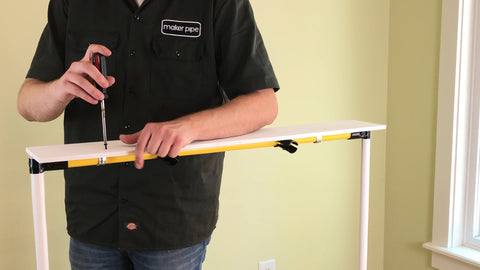
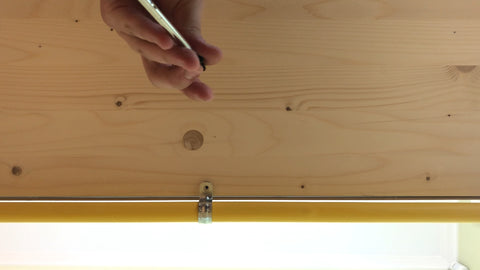
Put the shelf in position and mark the holes.
To make the install easier we will thread the screws into the holes half way then back them back out. Flip the shelf over and install the two screws.
For the chalkboard we used command strips with velcro to hold it on. Using velcro allows us to easily pull it off and switch to the dry erase side if we want to later.
Add them on about halfway up and push firmly against the pipes.

For the last step we will follow the same procedure that we used on the shelf. Add one hole straps where desired and mark the holes on the desk.
Thread the screws in about half way and back them out.

Flip the top over and add the screws to secure the desk top.
If you need a larger desk for an adult or larger child, use the same connectors and assembly steps. Change the measurements to fit your needs and space. Once completed you will have a nice clean desk that can be customized to your style and size. Follow the links to get started on your custom pipe desk today!


