
Your Cart is Empty
(4) 10 ft sticks of 3/4" EMT conduit
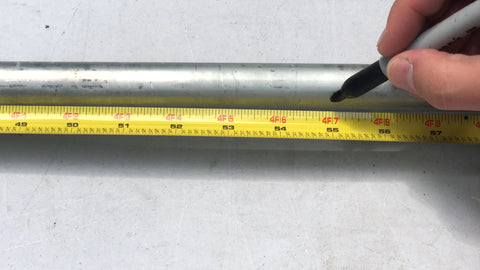
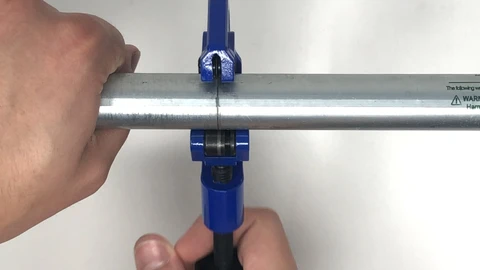
For the build we need 8 total pipes. If you are using the net we linked then you can use these measurements, but if you decide on a larger or smaller net keep in mind you will need more/less conduit and different lengths. The easiest way to cut the conduit is with this metal pipe and tube cutter.
The 8 pipes we need are
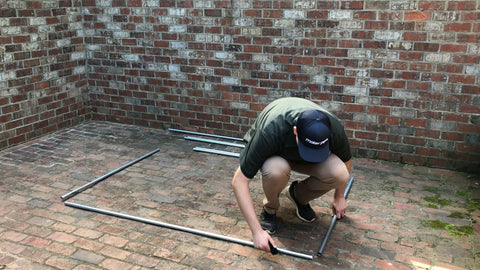
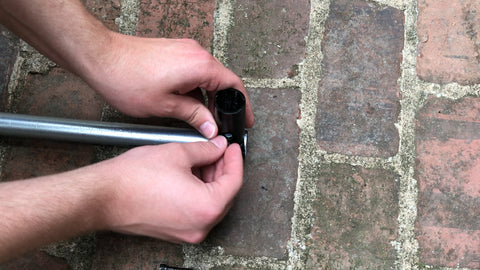
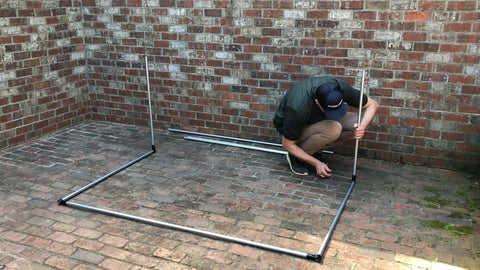
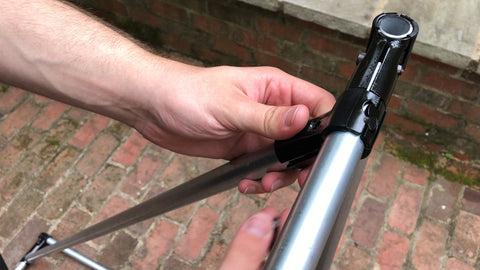
Add a t connector pointed up on each end of the 4 foot pipes, and add the two 34 inch pipes vertically inside the T’s we just installed.
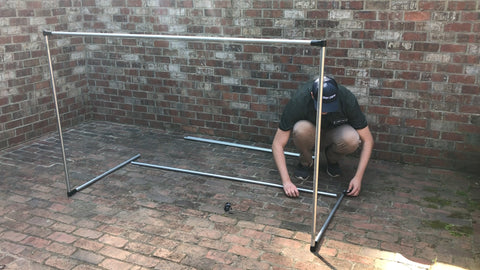
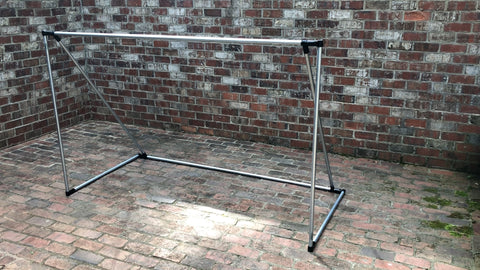
Raise the goal up so the 34 inch pipes are flat on the ground. Add the final 6 foot pipe connecting it to the two 34 inch pipes. Clamp down with the t and tighten fully.

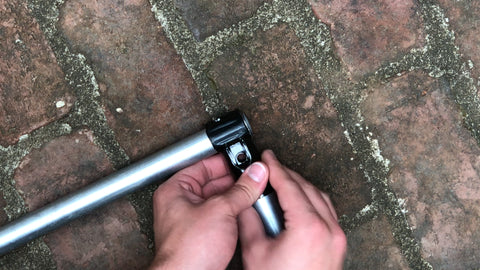
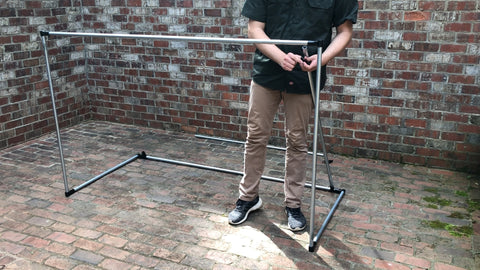
Now lower the goal to the original position so we can add the vertical support pipes. Add a t connector loosely on the bottom as close to the preexisting connectors as possible.
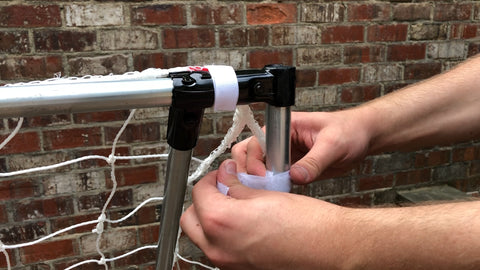
The net we linked from amazon came with instructions and included velcro straps to secure the net to the frame. In case you get a different net I will explain the easiest way to attach it to the frame. Start by adding the top two corners followed by the corners directly below. I used two straps on each corner like this to make sure it was secure. Add straps to the back corners on the bottom, and the fill in the gaps with the remaining straps.


Just like that you have an easy summer project that will add fun for the whole family! If you want a printable pdf version of the instructions follow this link.


