
Your Cart is Empty
We recently moved into a new shop and started shipping out of it almost immediately. Our pack station consisted of a few folding tables and a shelf left by the previous tenants. Needless to say it needed some major TLC. We sat down and figured out the most efficient use of space and sketched out a design. Here is a build breakdown that hopefully show you how Maker Pipe can be apart of your custom project even if it isn't a packing work station.
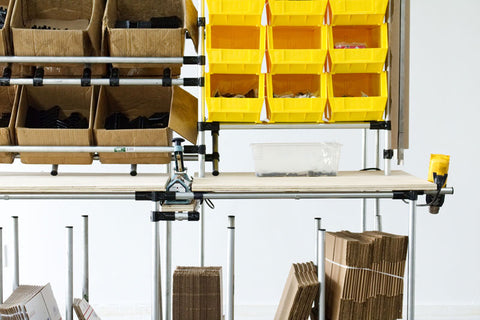
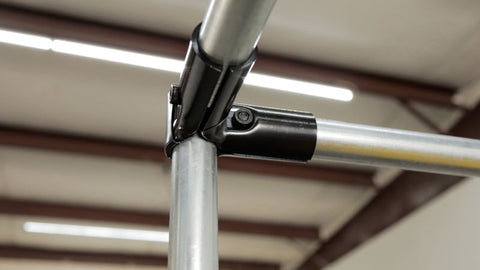
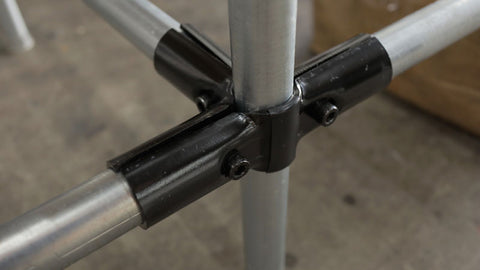
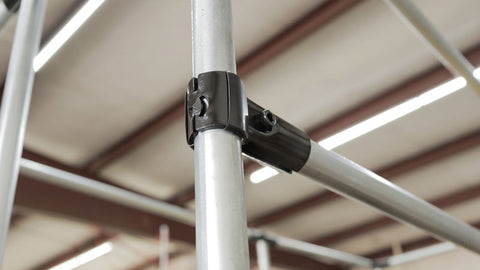
We started with a basic frame that consisted of 3 L shaped structures that were connected with 180 degree connectors, 90 degree connectors, 4 way connectors, and T connectors. After the frame was built we added a top using basic ply wood. We attached the top with these one hole straps. They are a great way to secure conduit to flat surfaces.

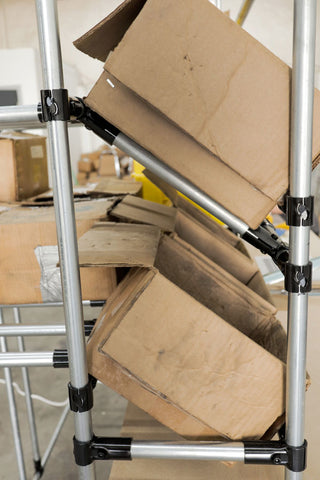
We needed an angled storage shelf that would allow easy part pulling from inventory. This is a classic storage technique simply done by angling T Connectors on two cross pipes mounted a different heights.
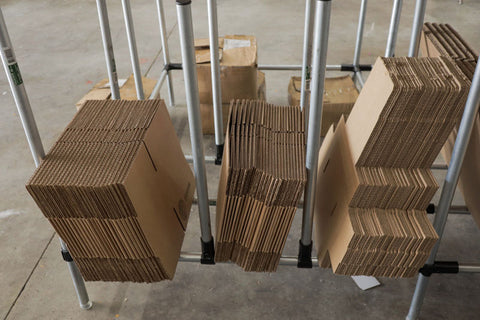
We also needed a place to store shipping boxes until they were ready to be used. We added simple cross pipes at the bottom and vertical pipes with T's to divide each box type.
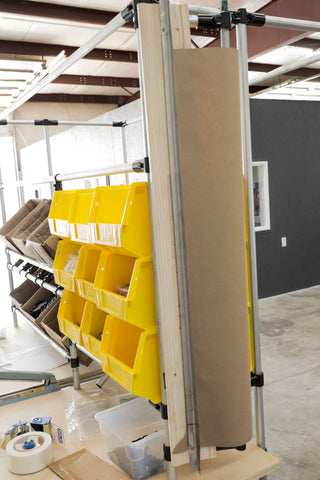
In order to keep the parts safe in transport we pack them with paper to fill in the empty space. We used to have the roll loose and had to fumble with it to get paper out, but now it is mounted in a stationary place that makes for easy access and tear off.
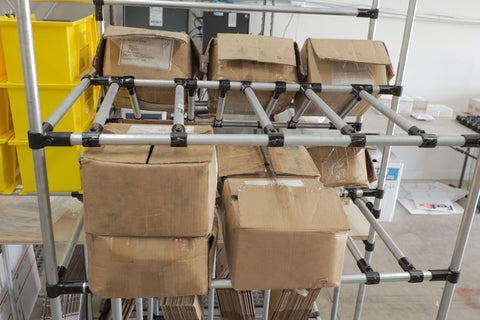
We added 12 pipes with T connectors to make a simple two tier storage shelf for extra boxes of parts.
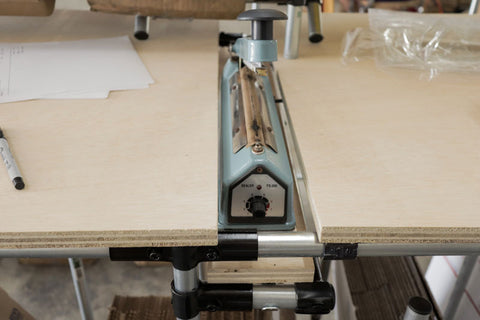
Every part is shipped heat sealed for added security during shipping. We added a shelf slightly lower than the work top so the sealer could sit flush with the top and allow for easier sealing.
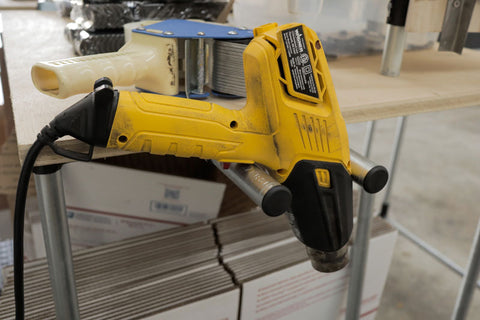
The second step in heat sealing is shrinking the bag. We added two short pipes off the frame to add a simple holster for the heat gun. The pipes have end caps for a clean look.
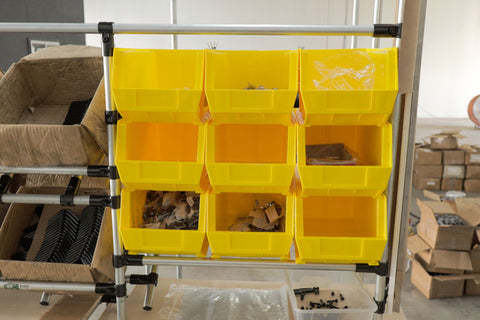
All the hardware and accessories we send out are in these stackable part bins right above the work top for easy access. They are supported with T connectors and pipes attached to the frame.
We were able to pack a lot into a small footprint using Maker Pipe. We know you probably won't need a full on packing station like this one, but no matter what you're building Maker Pipe can make it easier for you to customize to your specific needs. If you need help with a project feel free to reach out to the team or post in the build help forum on the free Maker Pipe Community. We also did a video overview on the build that you can watch below or click this link. Thanks for reading and happy building!


